u盘启动安装windows 使用Windows系统制作启动U盘安装盘
更新时间:2023-07-12 12:45:24作者:jiang
u盘启动安装windows,如今电脑已经成为我们生活中不可或缺的一部分,而安装系统则是使用电脑的必经之路。但是随着技术的不断更新,使用光盘安装系统已经逐渐被淘汰,而使用U盘启动安装系统则越来越受到欢迎。接下来我们将为大家介绍如何使用Windows系统制作启动U盘安装盘,方便快捷地安装系统。
使用Windows系统制作启动U盘安装盘
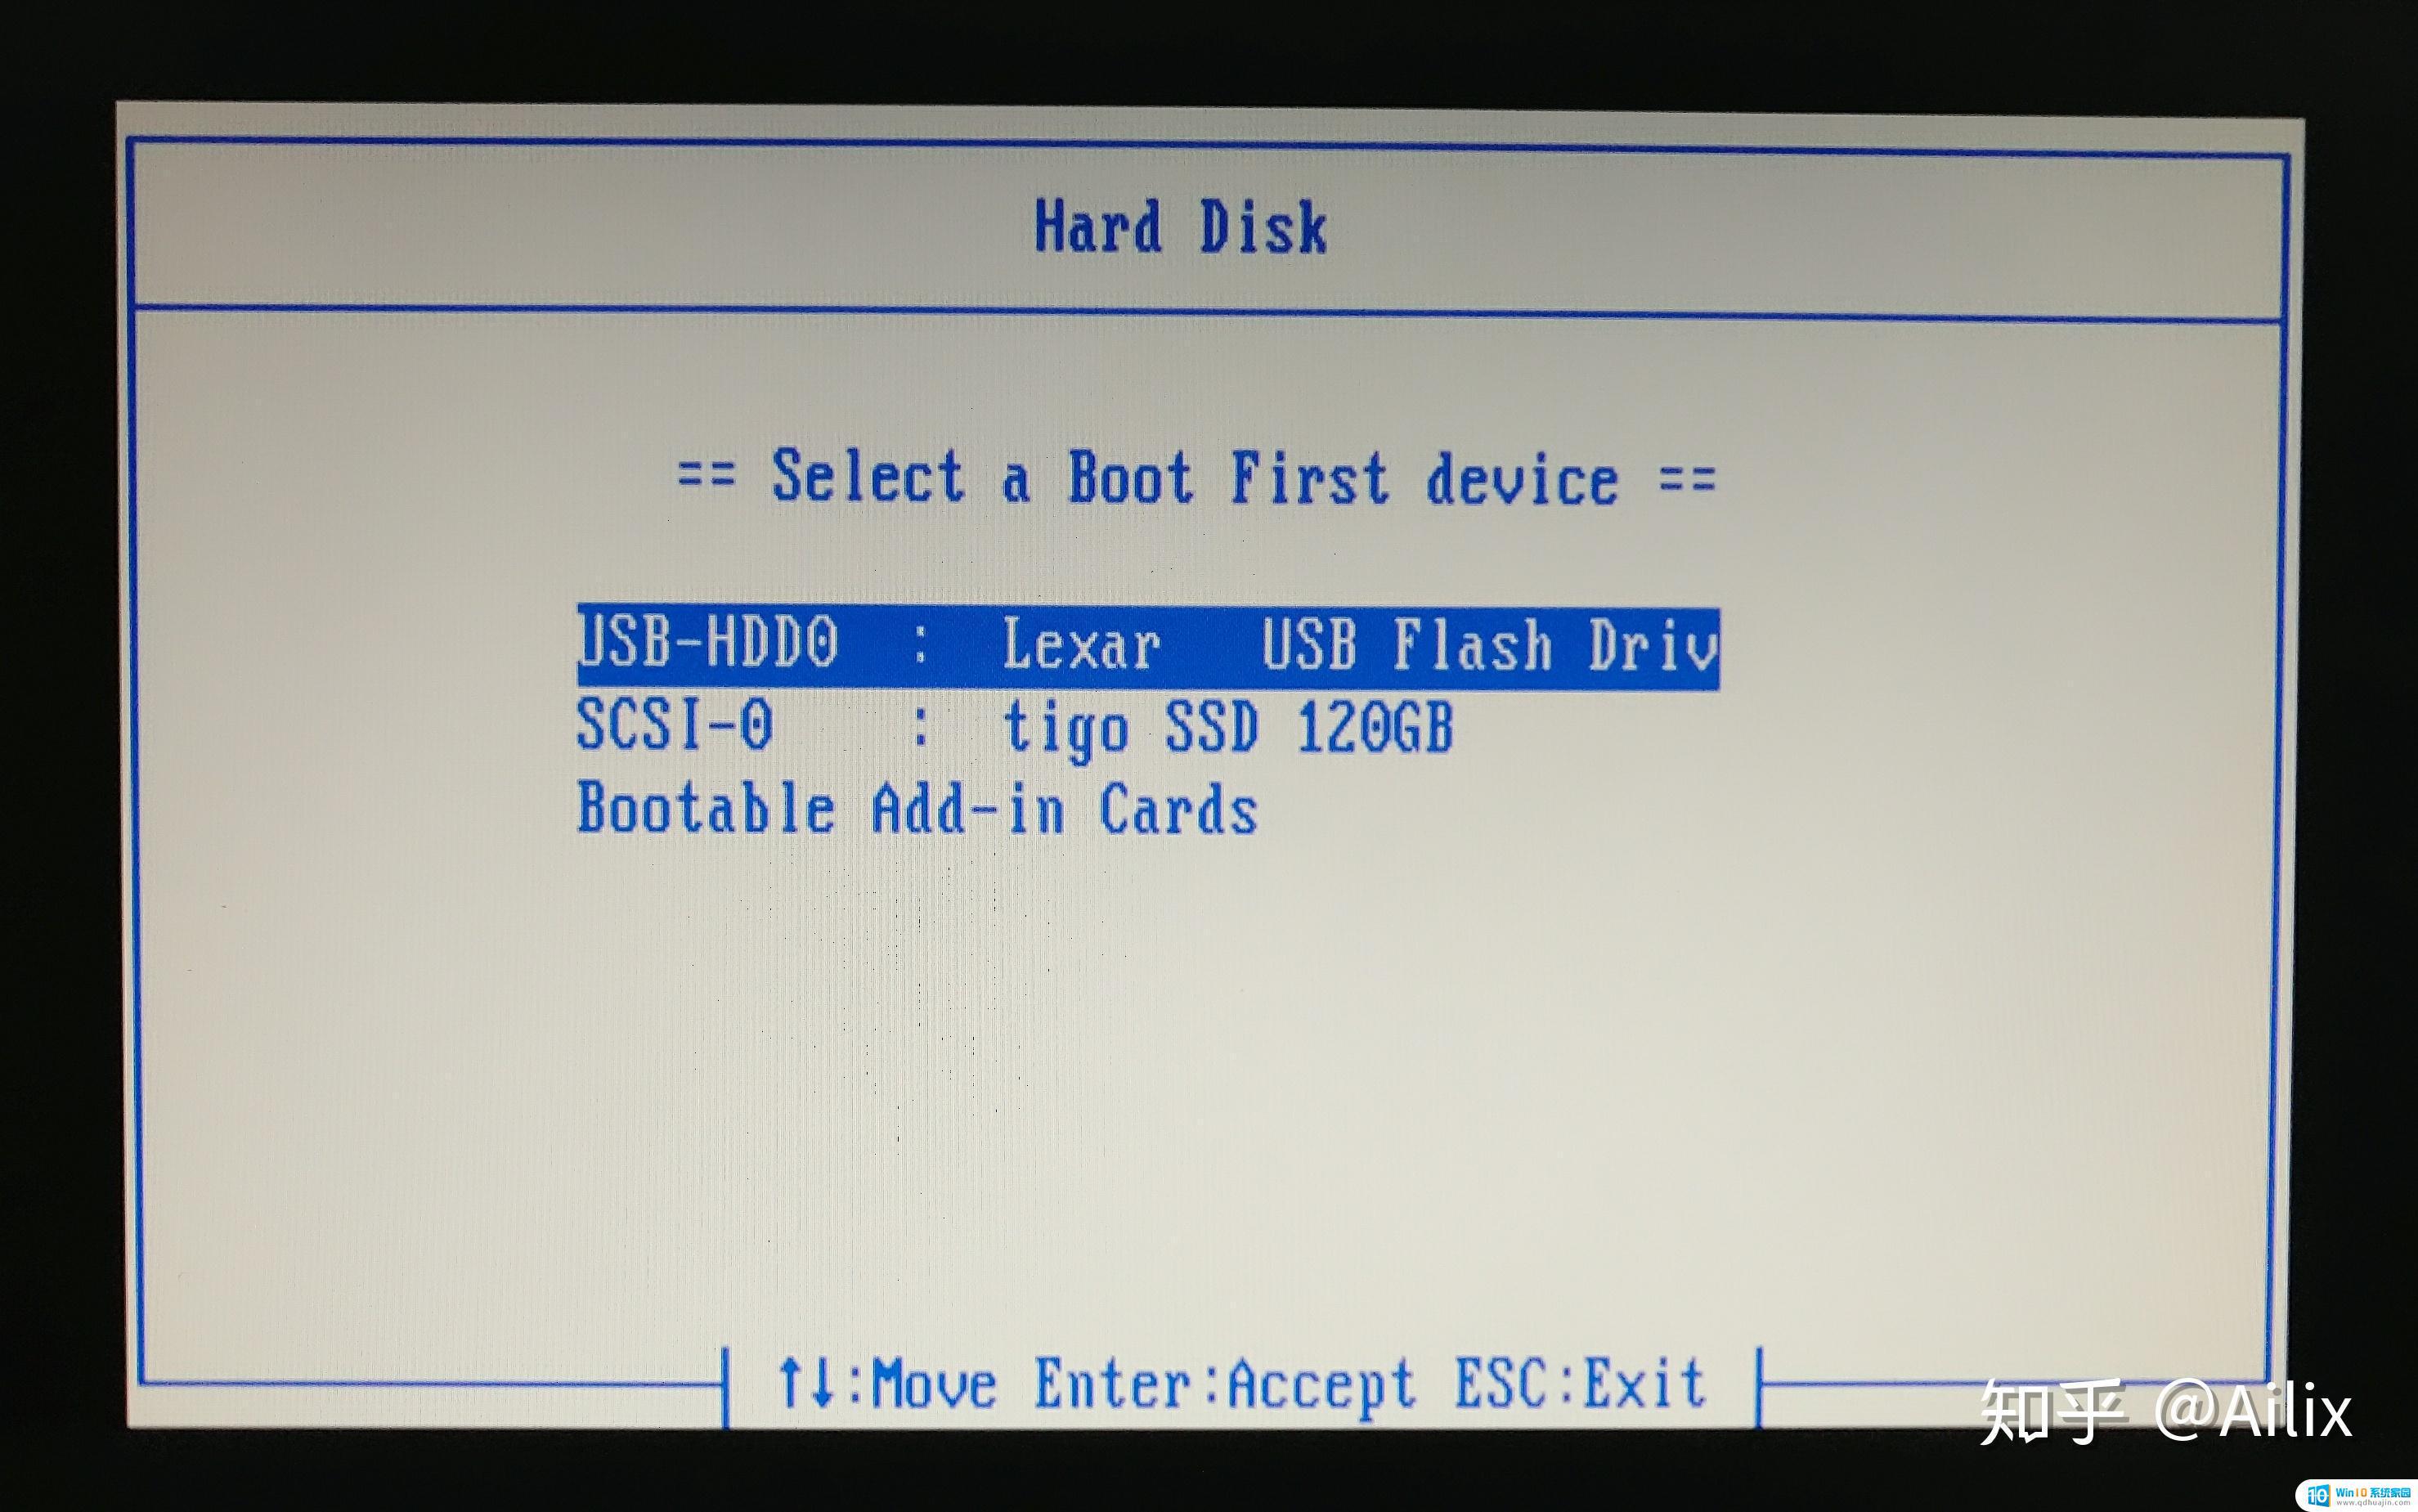
一.准备工作1.1 一个制作完成的系统启动U盘二. 安装操作系统2.1 将制作好的系统启动U盘连接上待安装系统的电脑 >> 开机 >> 根据下表,按对应的启动菜单快捷键进入启动菜单 >> 选择启动U盘 >> 回车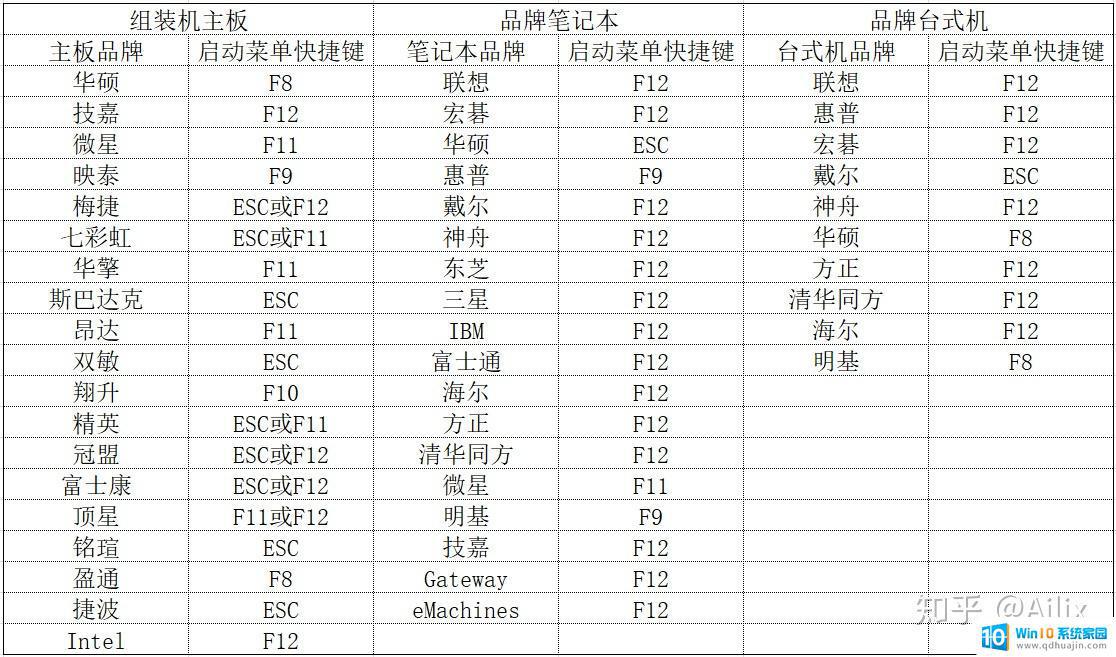
 2.2 等待加载进入Windows安装程序2.3 根据需求选择语言、格式及输入法,点击下一步
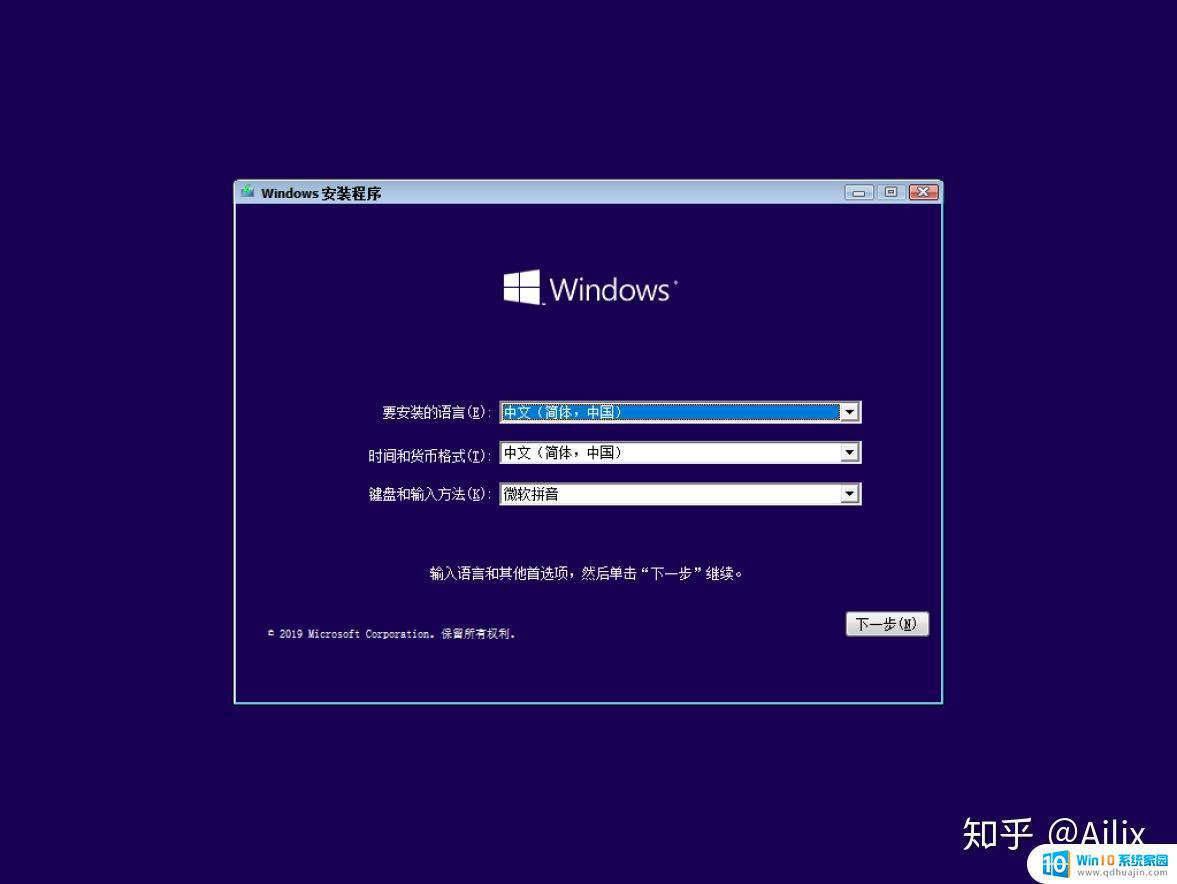 2.4 点击现在安装
 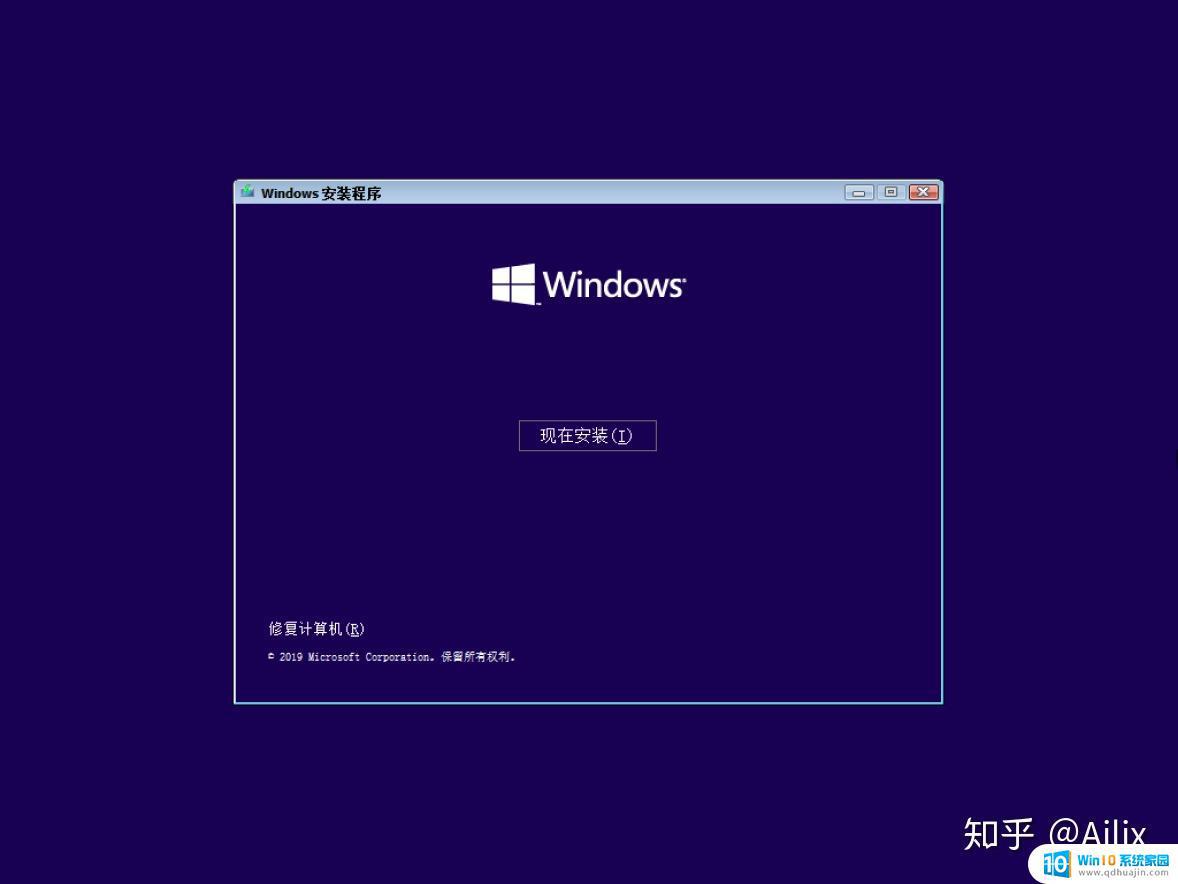 2.5 根据不同的系统镜像文件,在安装过程中可能会有以下步骤,按需求输入产品密钥或点击我没有产品密钥
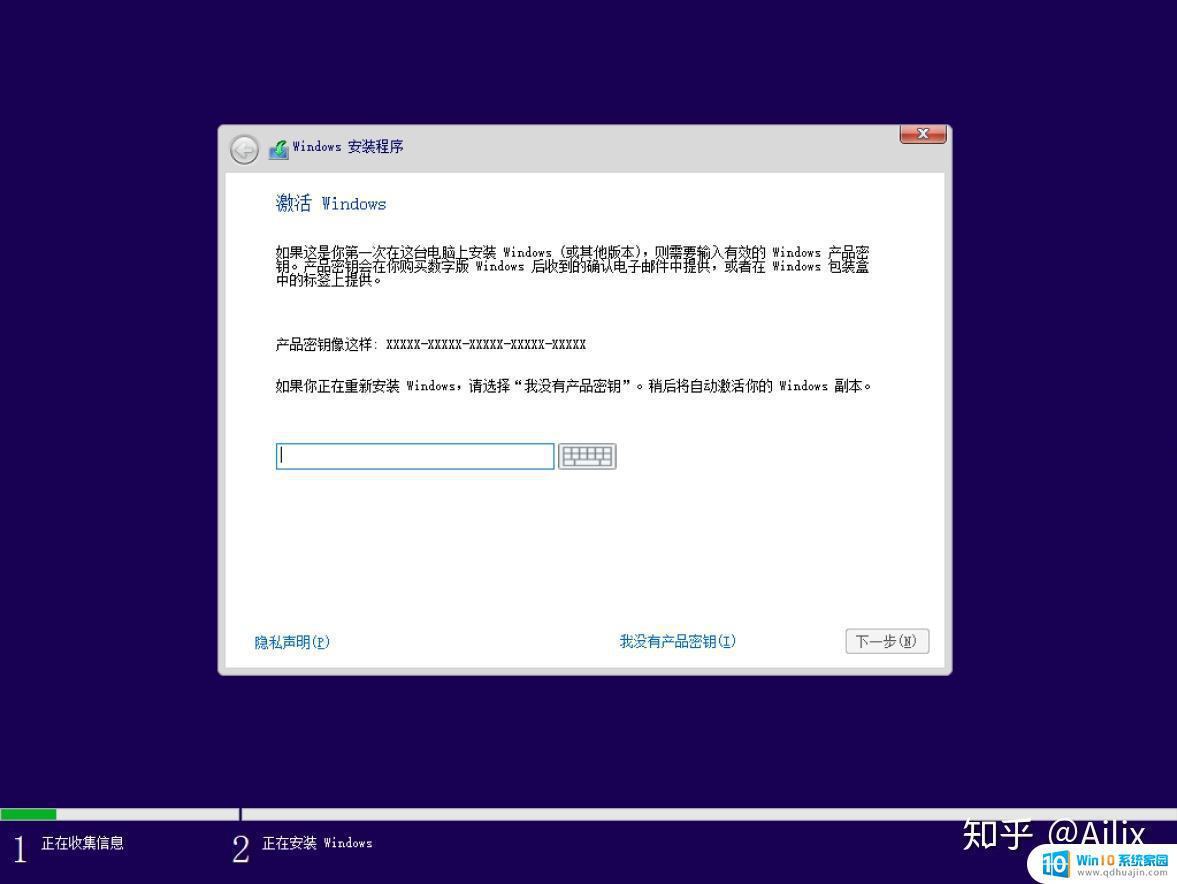 2.6 根据需求选择操作系统版本,点击下一步
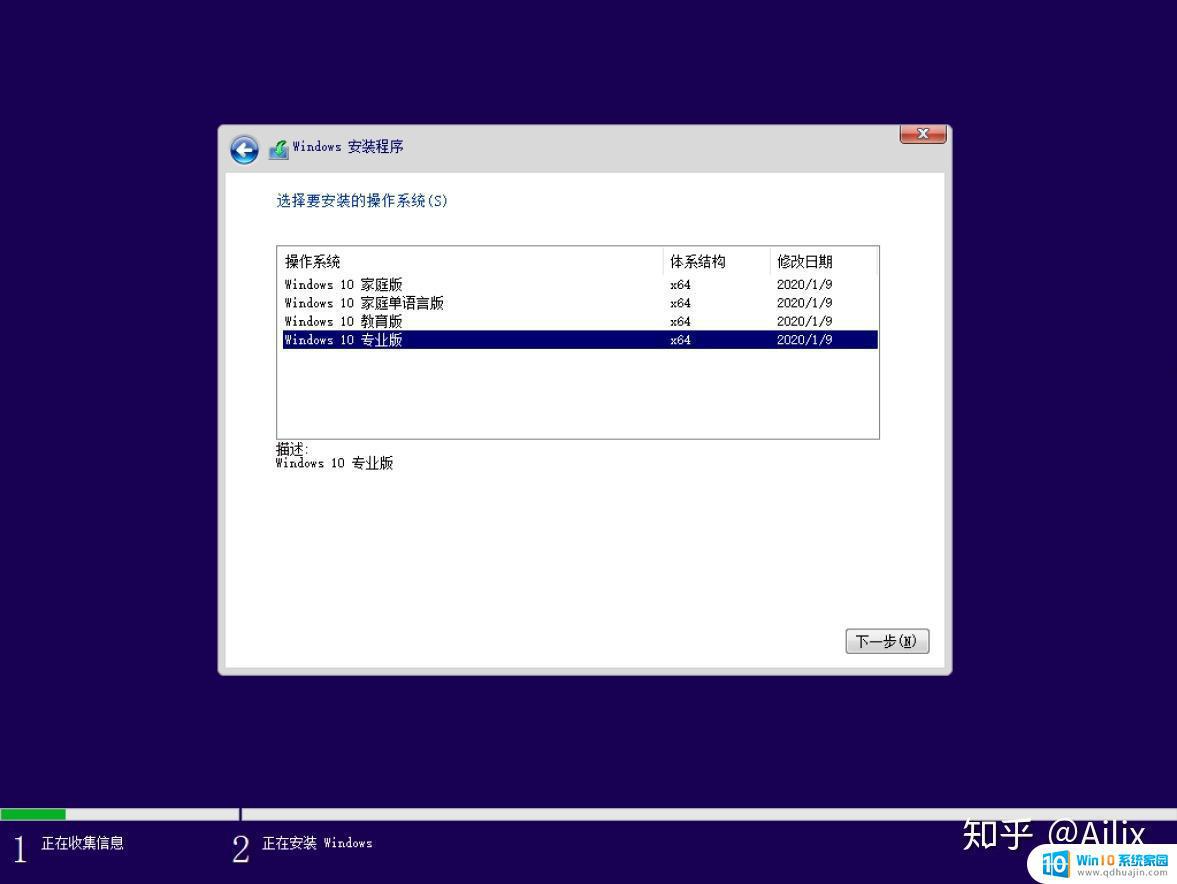 2.7 接受许可条款,点击下一步
 2.8 选择安装类型
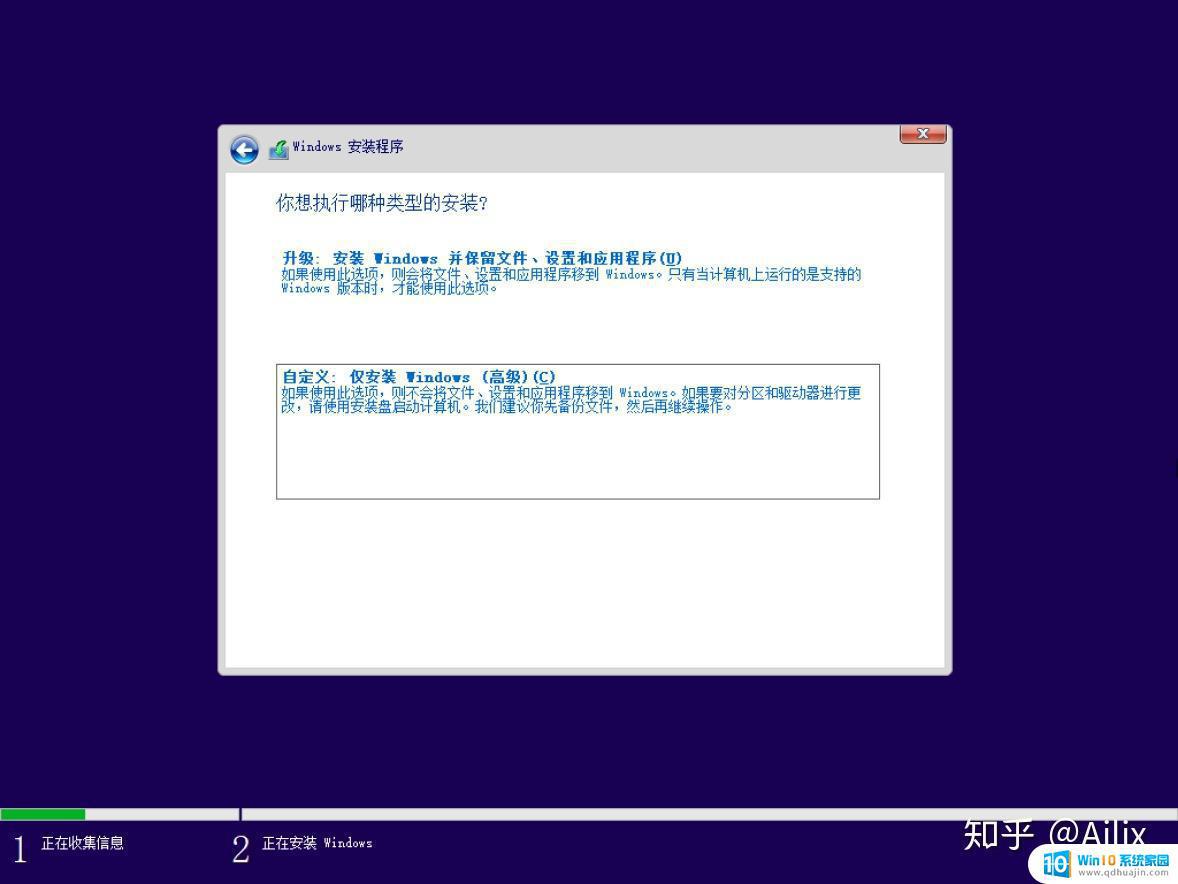 2.9 选择待安装系统的磁盘分区 >> 点击下一步
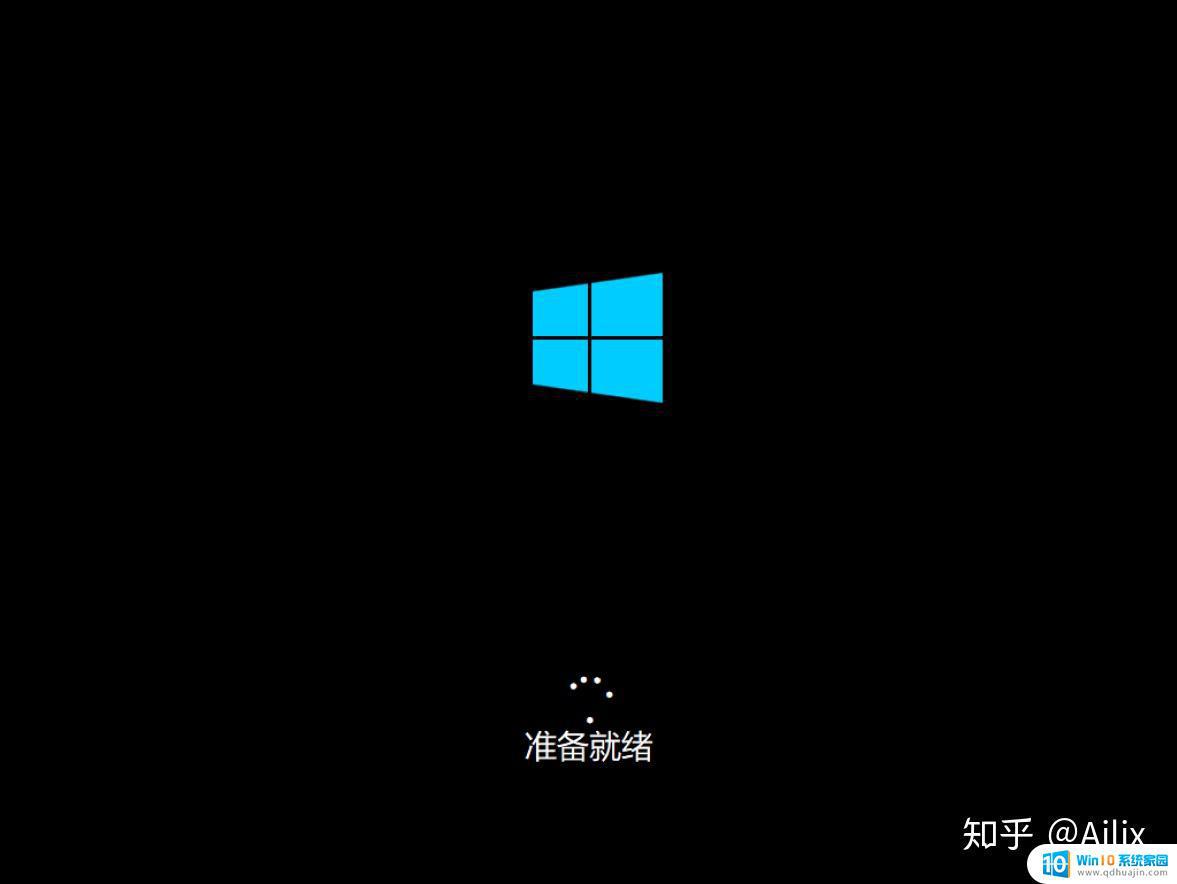
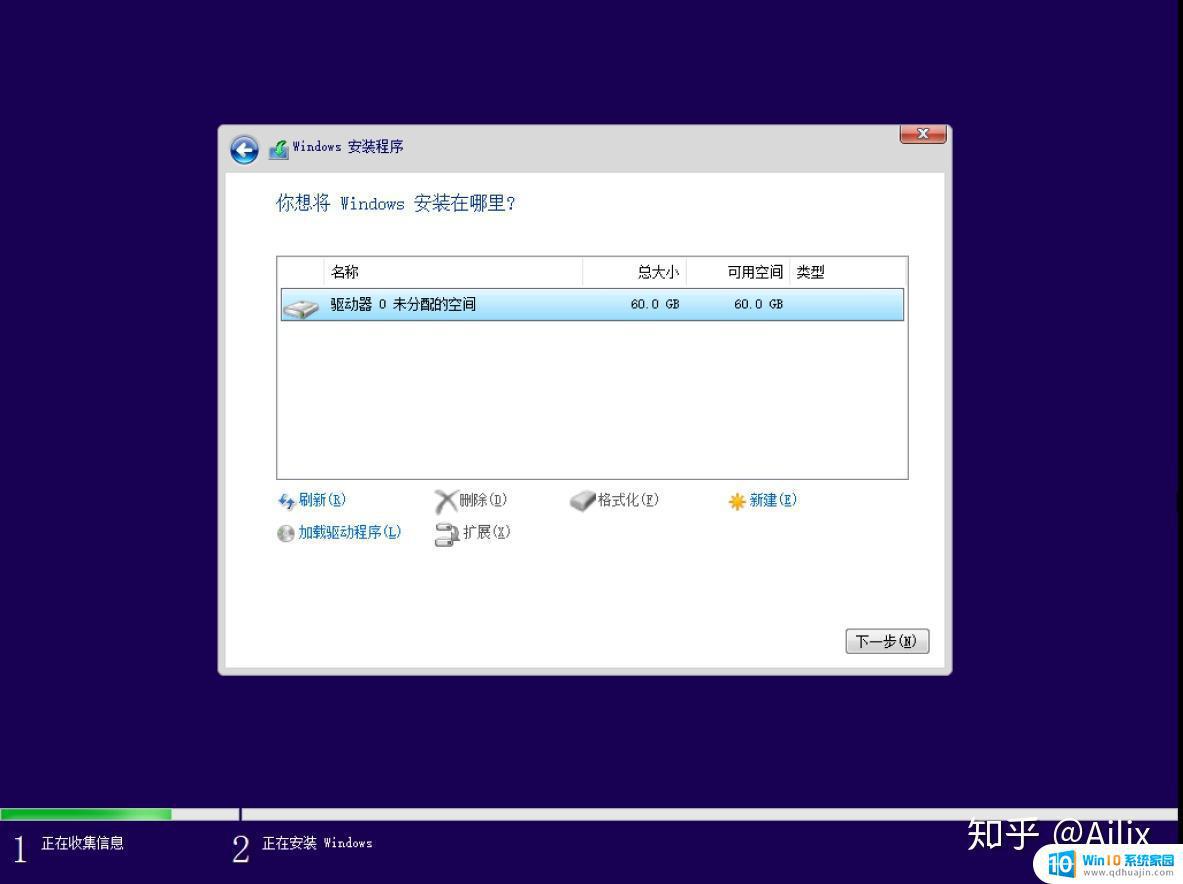 2.10 等待安装Windows
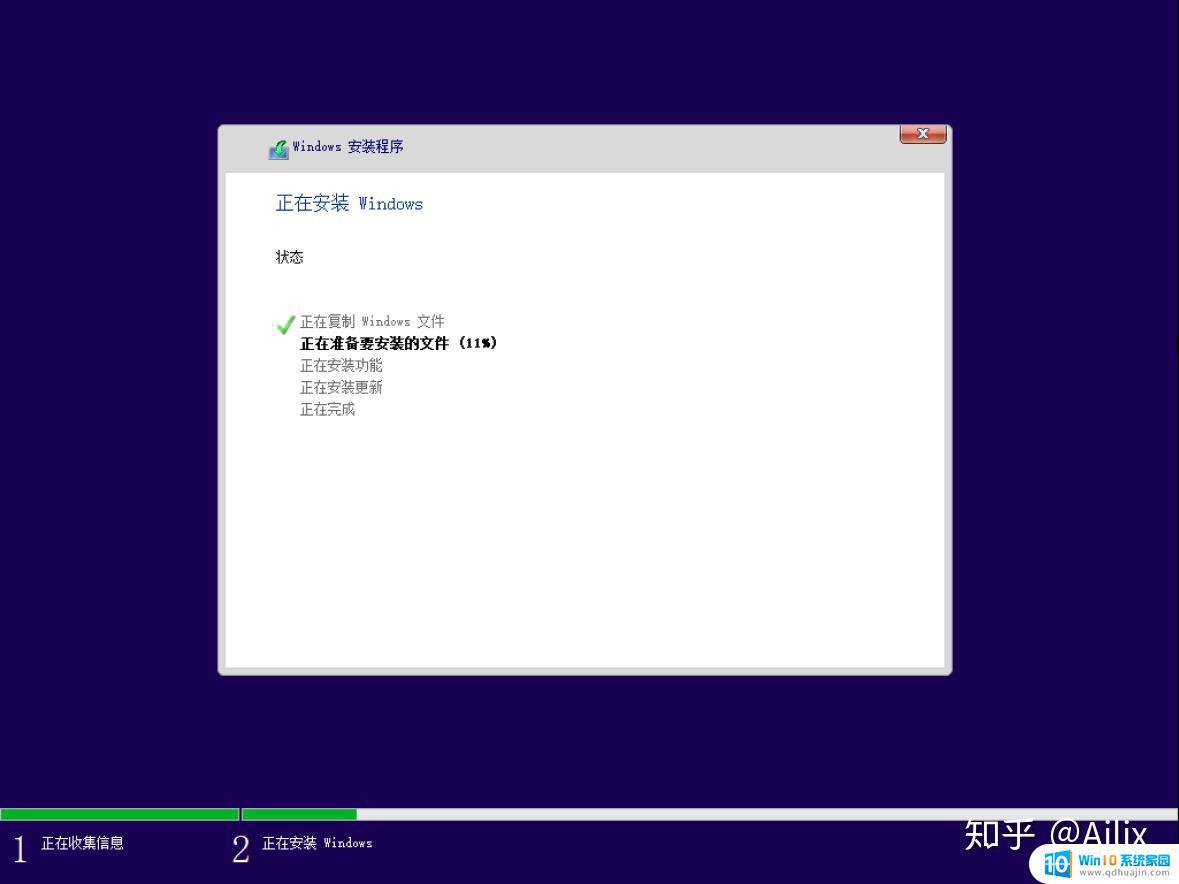
 2.11 根据需求选择区域
 2.12 根据需求选择键盘布局
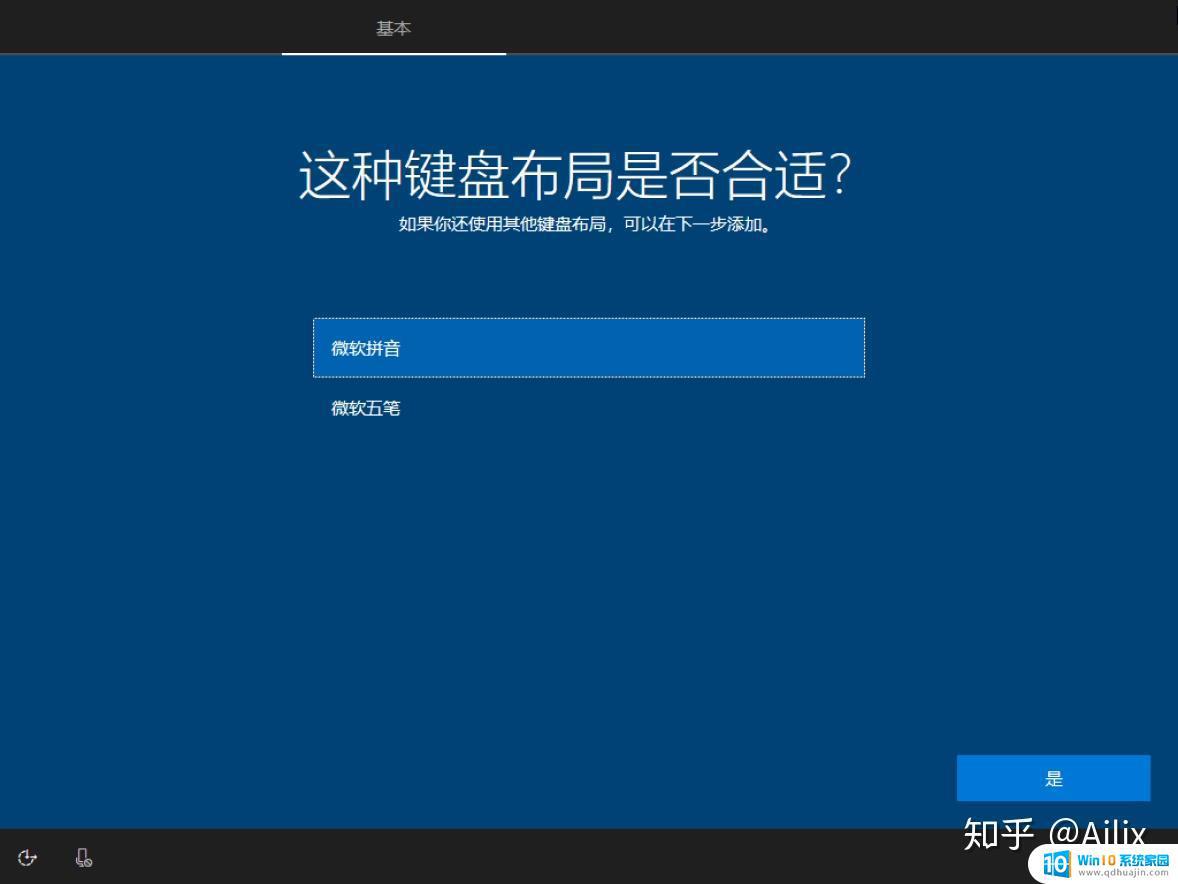 2.13 根据需求添加键盘布局或跳过
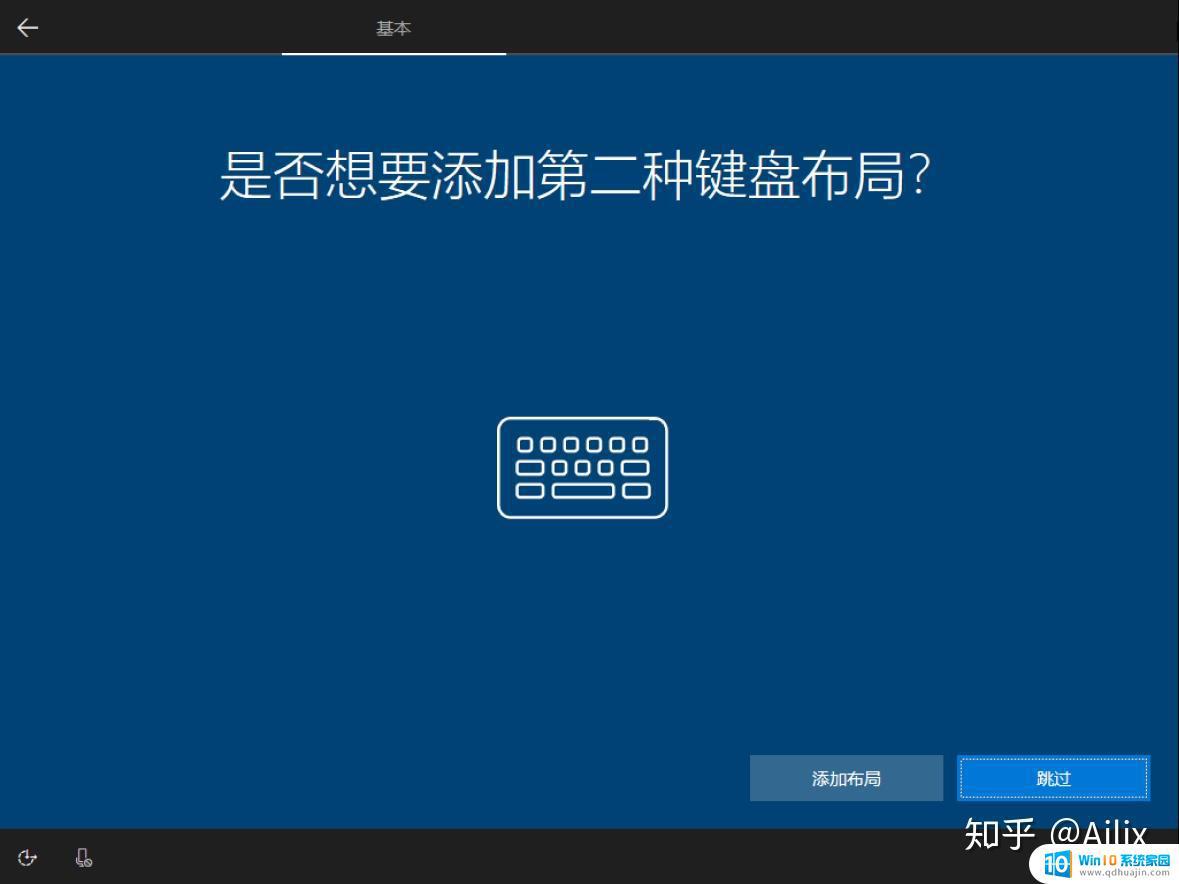 2.14 等待网络设置完成
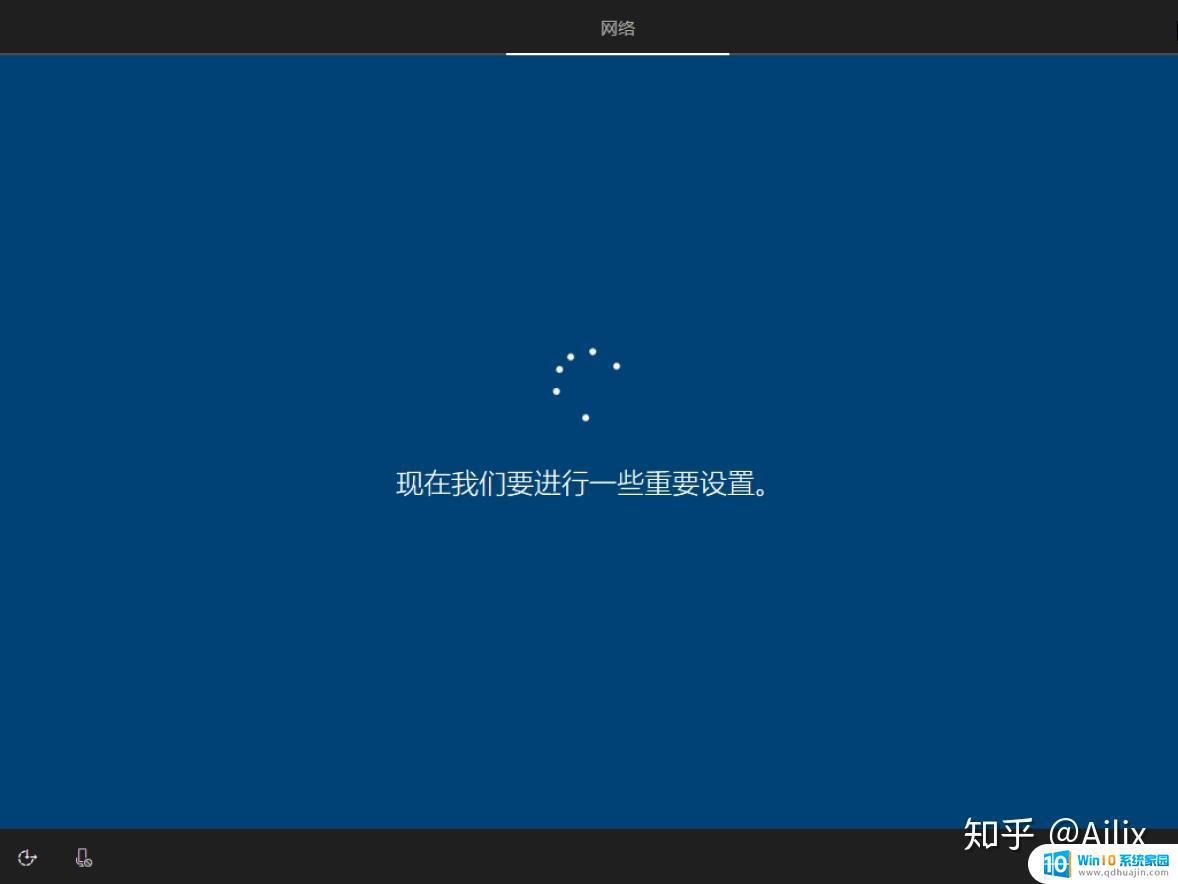 2.15 选择针对个人或组织方式进行设置
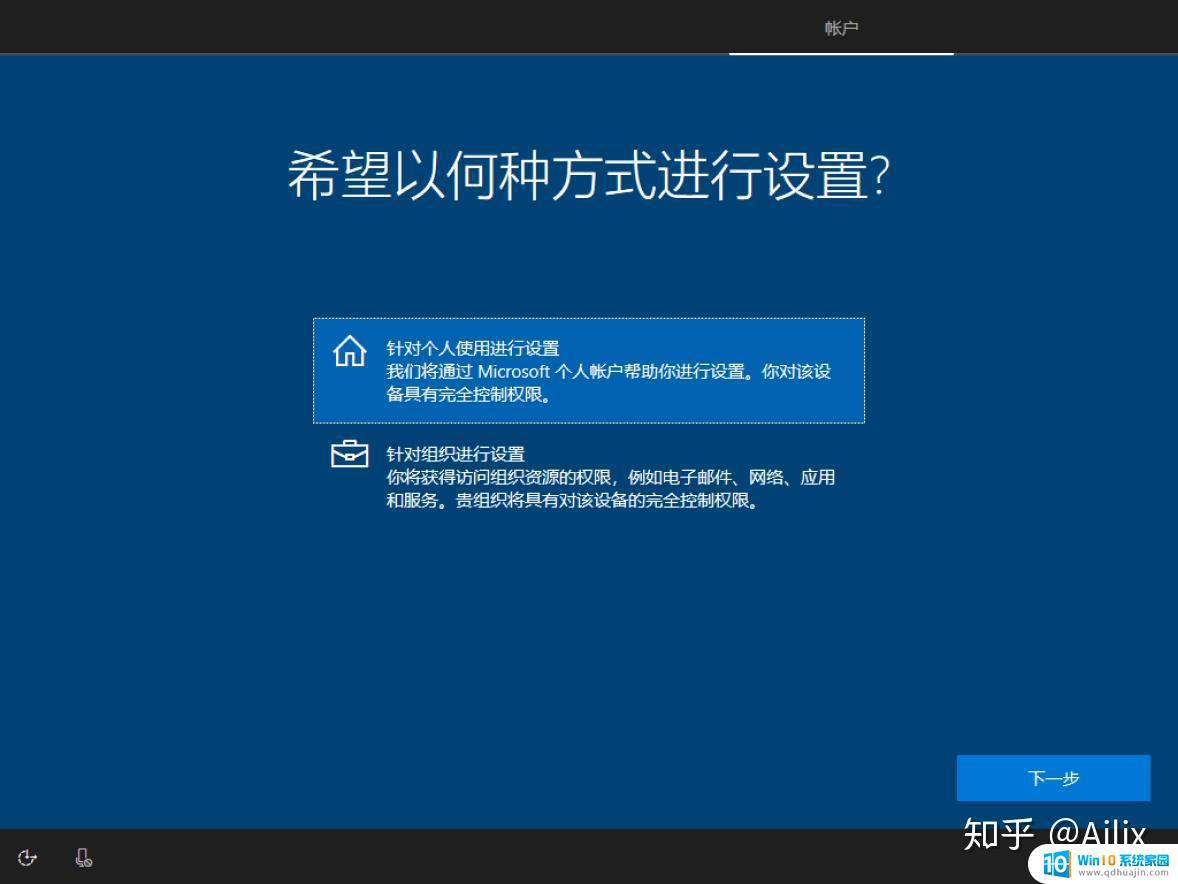 2.16 使用微软账户或脱机账户登录
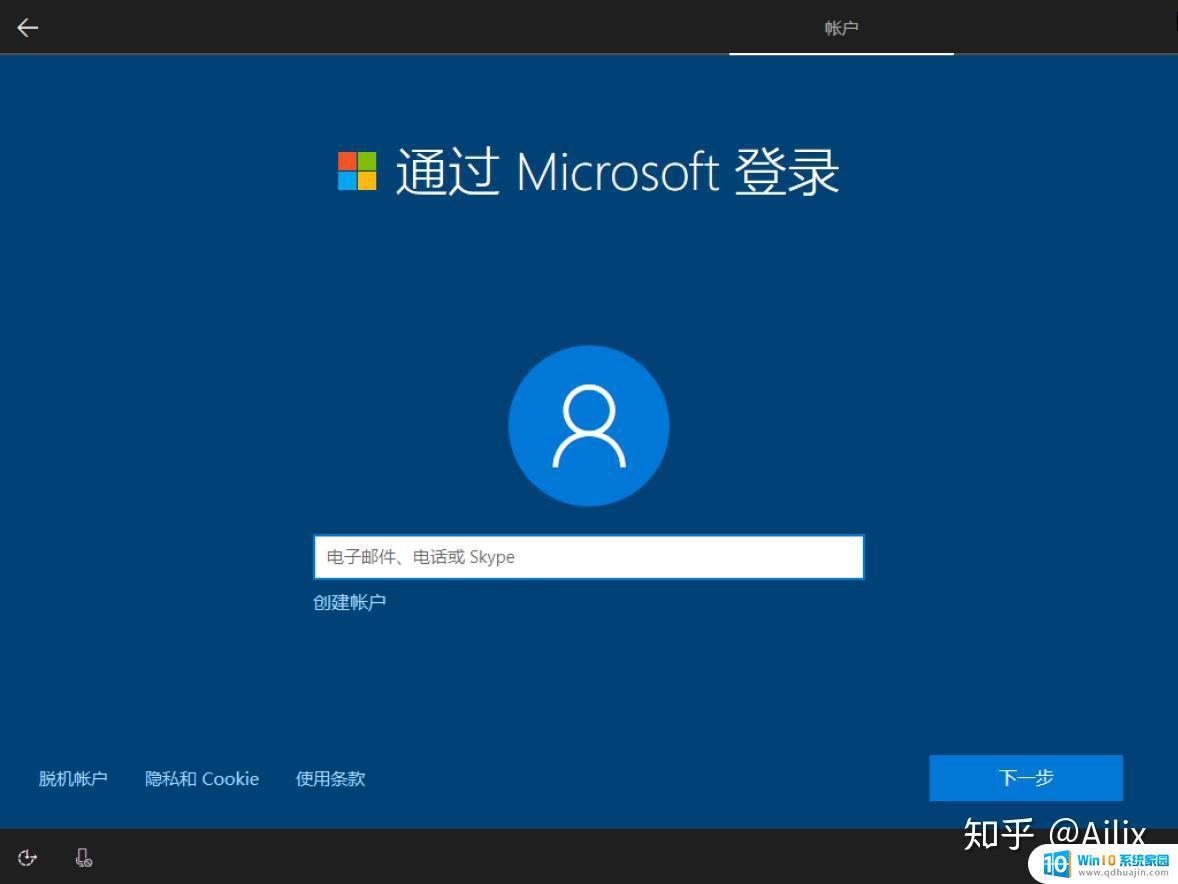 2.17 如果选择脱机账户则选择有限的体验
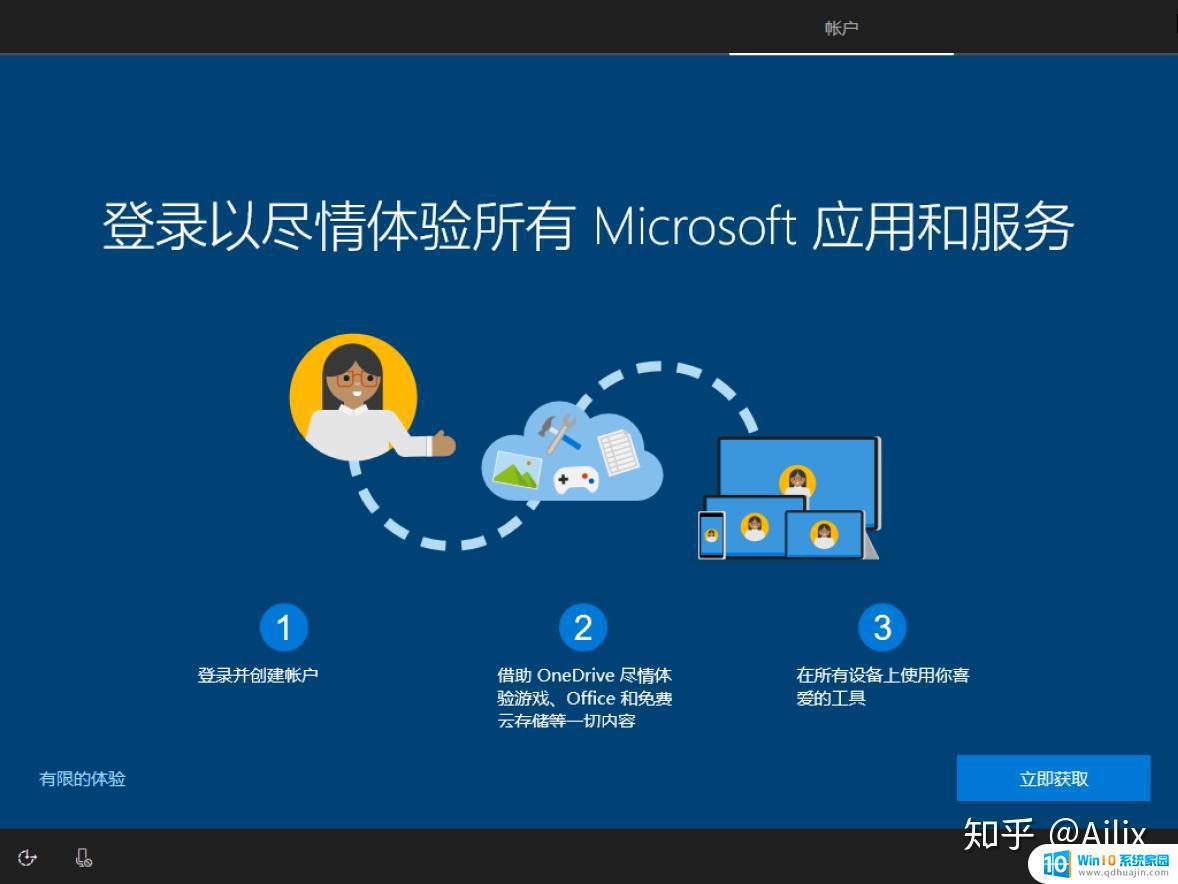 2.18 输入本地账户名 >> 下一步
 2.19 输入账户密码 >> 下一步
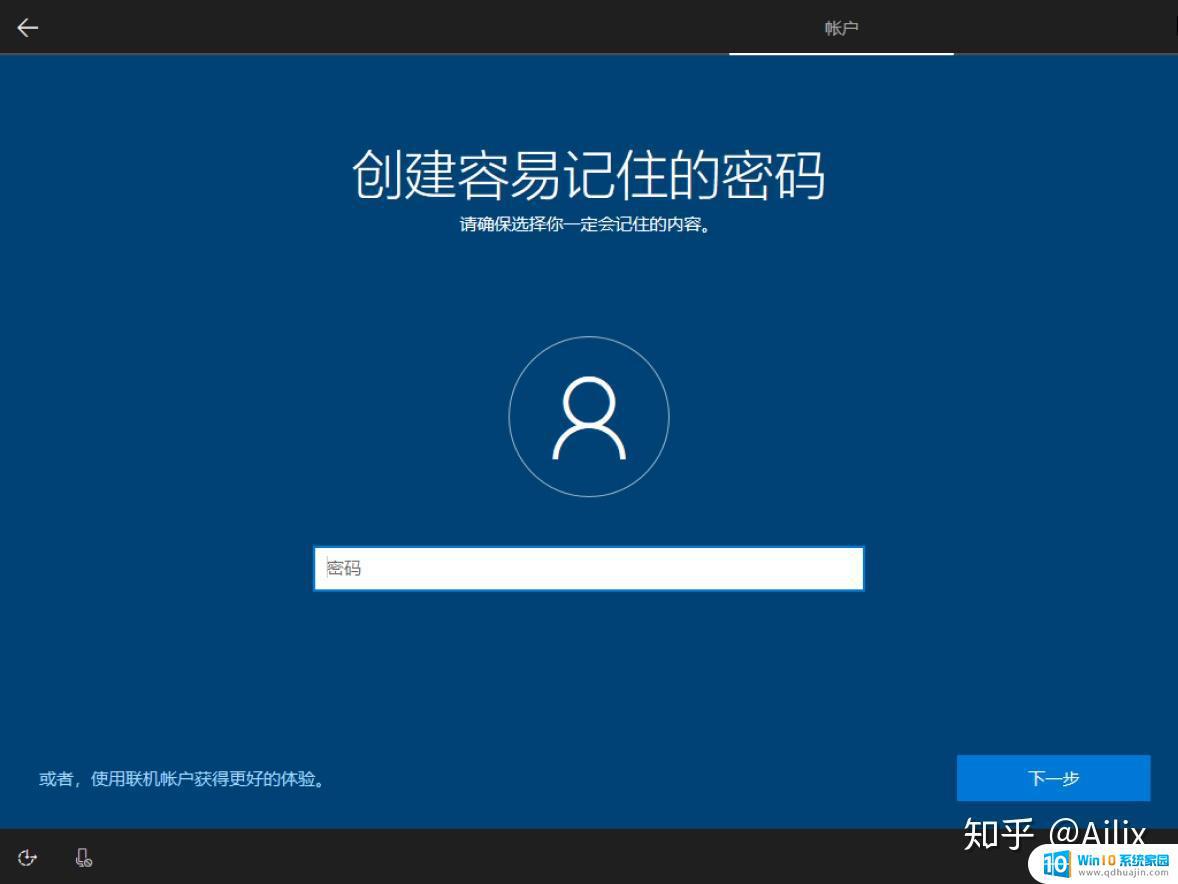 2.20 根据需求选择是或否
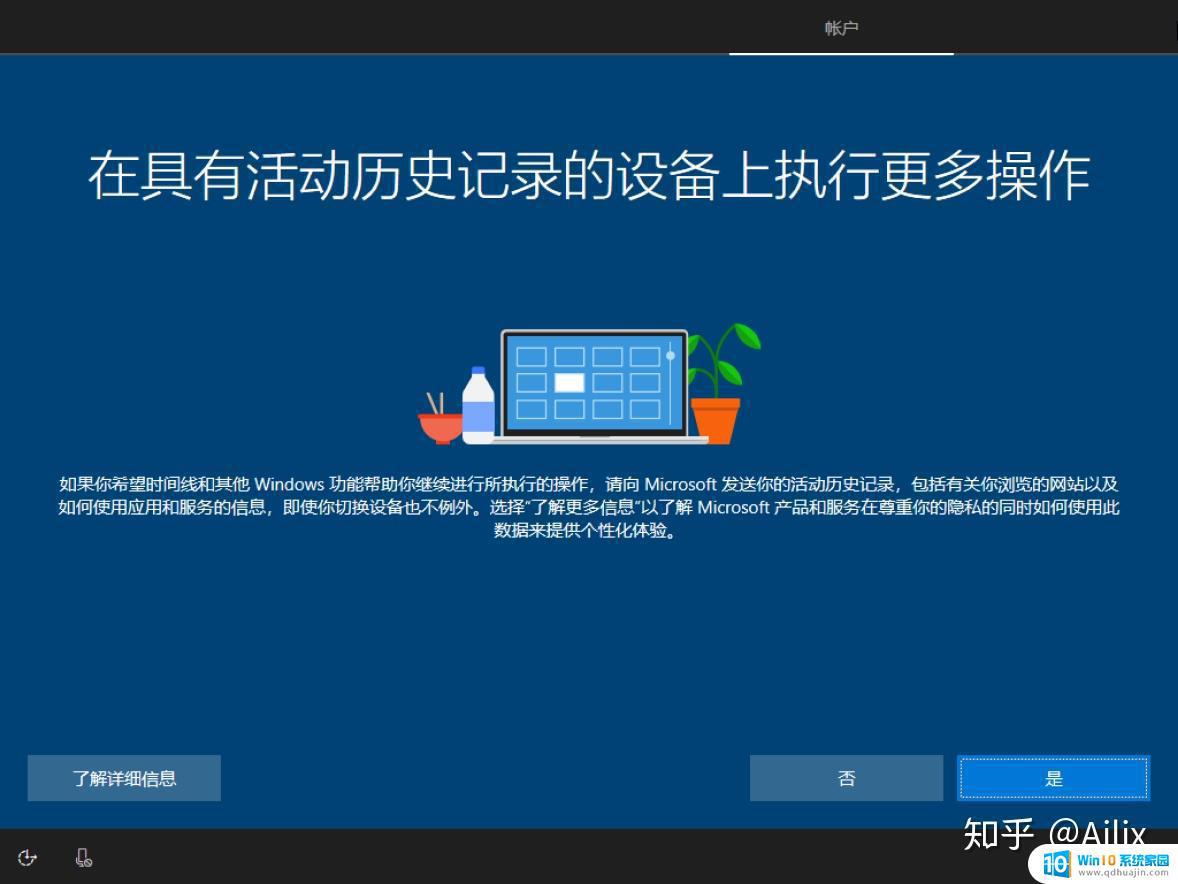 2.21 根据需求接受或拒绝
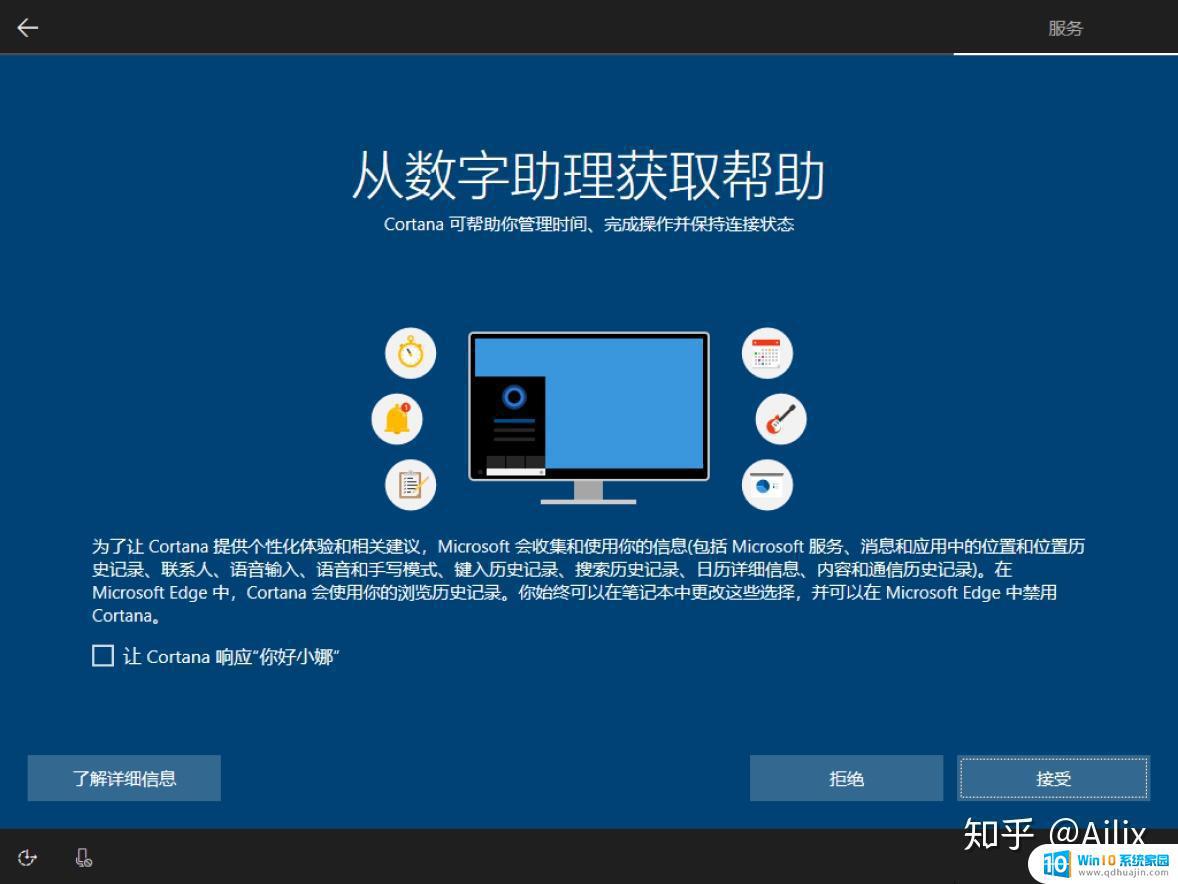 2.22 根据需求选择隐私设置 >> 接受
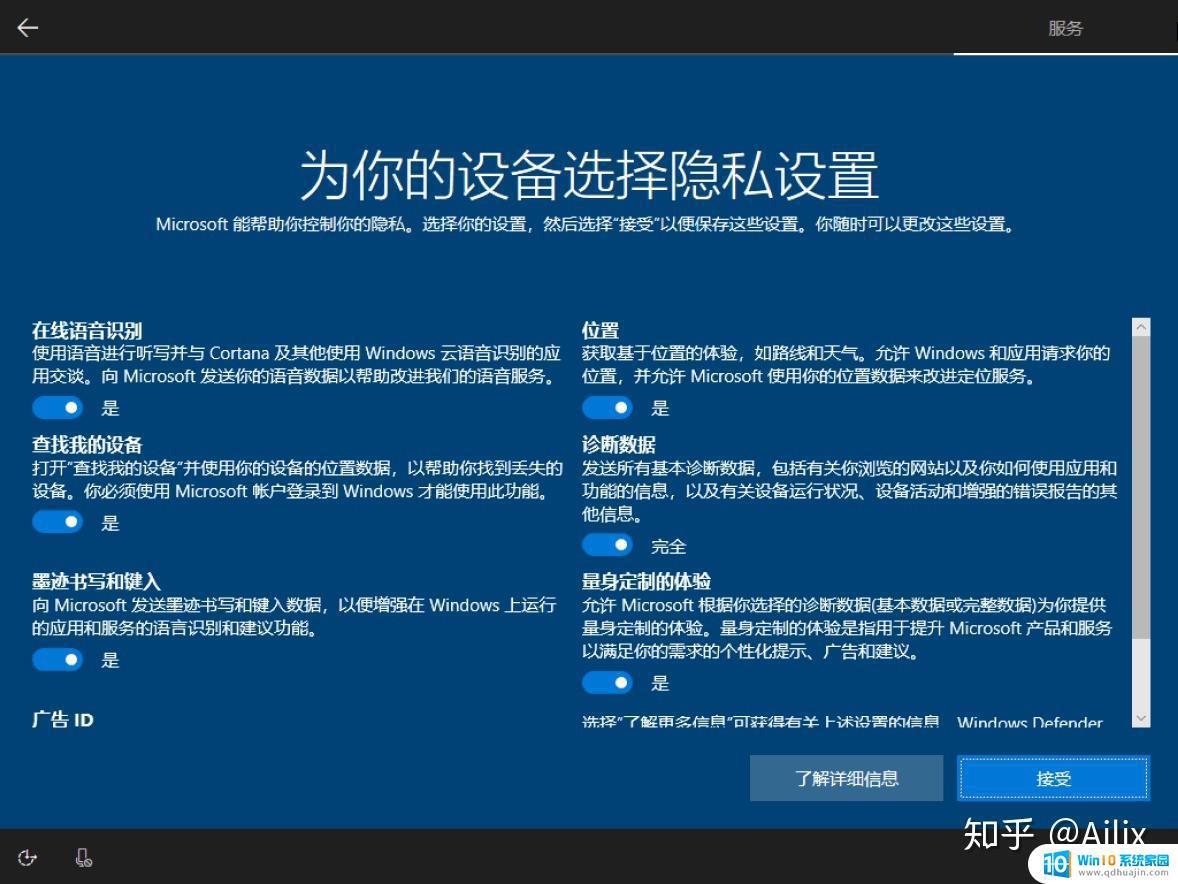 2.23 等待完成所有设置 >> 进入系统桌面

制作启动U盘安装盘是很必要的。无论是安装系统还是进行系统的维护操作,都需要一份可靠的启动盘。只有在备份好重要数据的情况下,才能更加放心地进行U盘启动安装windows操作。
u盘启动安装windows 使用Windows系统制作启动U盘安装盘相关教程
热门推荐
系统安装教程推荐
- 1 平板能连接鼠标吗 无线鼠标在平板电脑上的安装方法
- 2 下载一半的安装包怎么删除 电脑安装包删除方法
- 3 win11edge浏览器active插件加载设置 edge浏览器插件安装指南
- 4 win11无法安装软件的教程 Win11升级后无法安装软件怎么办
- 5 win11怎么使用谷歌浏览器 谷歌浏览器安装教程
- 6 wim win10 安装 win10系统怎么装U盘
- 7 win11怎么也安装不上 framework3.5 win11netframework3.5安装不了怎么处理
- 8 win11不能安装太极神器 win11检测工具安装失败怎么办
- 9 win11安装到83不动了 Win11 24H2 安装 9 月更新问题
- 10 acer台式电脑安装win10教程 win10系统怎么装U盘
win10系统推荐
- 1 萝卜家园ghost win10 64位家庭版镜像下载v2023.04
- 2 技术员联盟ghost win10 32位旗舰安装版下载v2023.04
- 3 深度技术ghost win10 64位官方免激活版下载v2023.04
- 4 番茄花园ghost win10 32位稳定安全版本下载v2023.04
- 5 戴尔笔记本ghost win10 64位原版精简版下载v2023.04
- 6 深度极速ghost win10 64位永久激活正式版下载v2023.04
- 7 惠普笔记本ghost win10 64位稳定家庭版下载v2023.04
- 8 电脑公司ghost win10 32位稳定原版下载v2023.04
- 9 番茄花园ghost win10 64位官方正式版下载v2023.04
- 10 风林火山ghost win10 64位免费专业版下载v2023.04